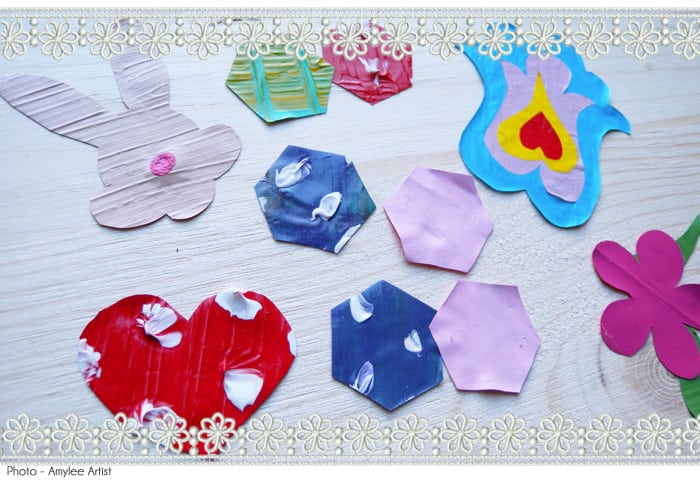
You want to create stickers to apply to your artworks : paintings, sculptures, or to decorate a flat surface?
You want to make home-made stickers, but you don’t know how to proceed?
I’ll show you the steps to follow to create original, textured stickers with sharp edges. The method is inspired by Nail Art, and it is very easy!
Step 1: Materials
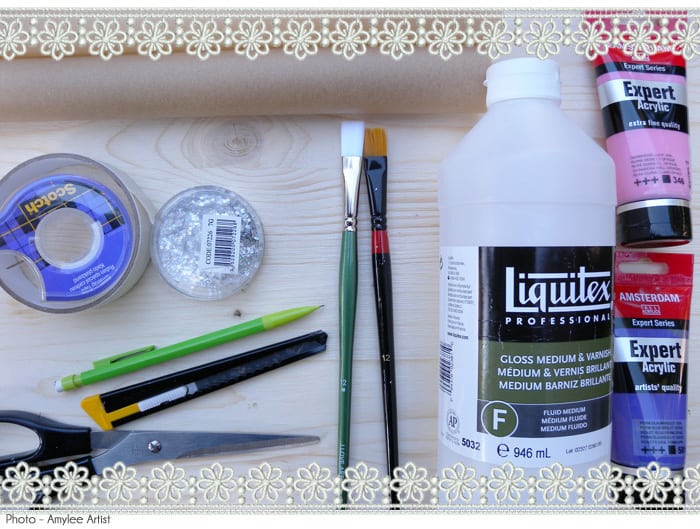
For this project, you will need :
- Parchment Baking Paper
- Acrylic Paint
- 2 Flat Brushes
- Acrylic Clear Varnish (Glossy Liquitex)
- 1 Cutter and a Pair of Scissors
- 1 Graphite Pencil
- 1 Transparent Adhesive Tape and 1 Adhesive Crepe Paper Roll
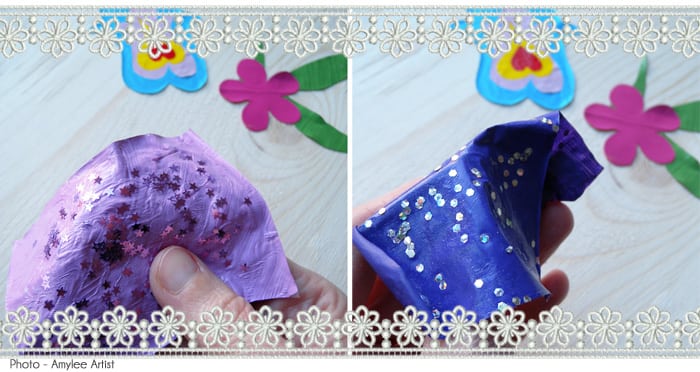
- Glitter (Up to you).
STEP 2 : The RECIPE
1 / Base:
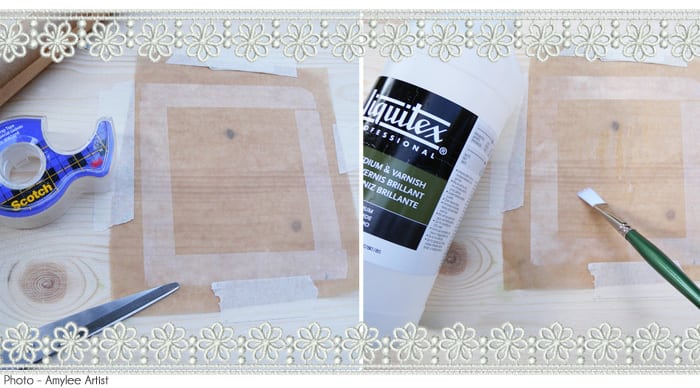
Cut out a sheet of parchment baking paper and secure the 4 corners with Adhesive Crepe Tape. With the Transparent Scotch Tape draw a square in the center of the sheet.
2 / Colour:
First apply a layer of Acrylic Varnish inside the square and above edges of the Transparent Adhesive Tape.
As soon as the #1 varnish is dry, apply in the same square a layer of Acrylic Paint.
When the paint is dry, apply a second layer of varnish to avoid the sticker tearing during handling.
Allow the #2 varnish to dry. The more layers of paint or varnish you have, the longer the drying time will be. You can reduce the drying time with a hair dryer.
3 / Cutting:
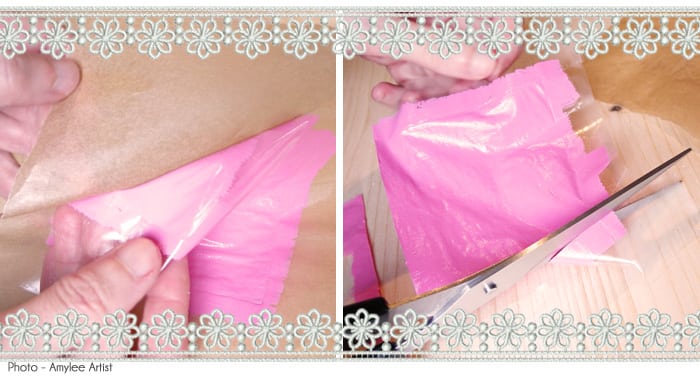
Once the second varnish layer is completely dry, peel off the baking paper. The square sticker must come off entirely. If it resists, drying is not finished yet.
Using Scissors or a Cutter, remove the 4 edges of tape from your square sticker.
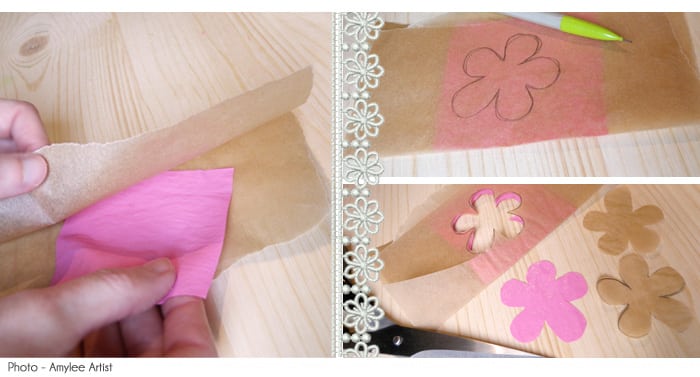
Fold the baking paper sheet and place the square sticker in the middle. We can see it through the paper. With a Graphite Pencil, draw the new shape you want to give to this square. Hold the square sticker on the parchment baking paper and cut following your drawing.
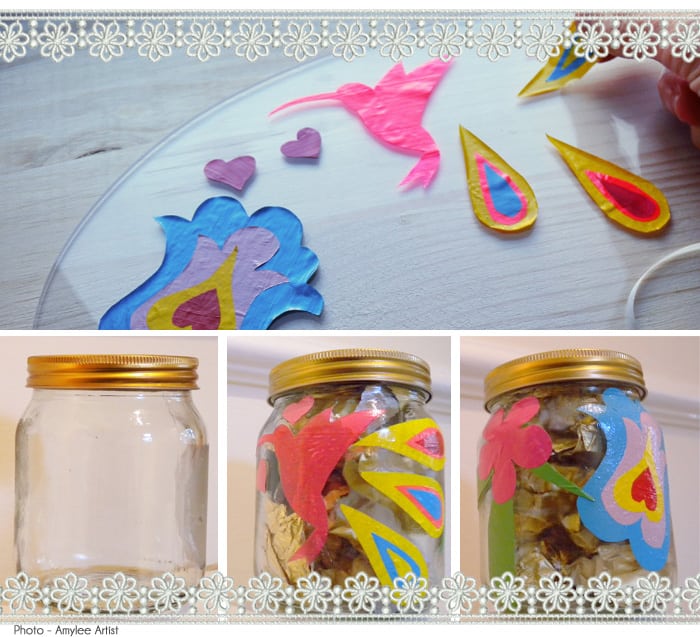
The sticker is ready, you can use varnish to paste it on your artwork.
STEP 3: It’s your turn
Here we go, your turn to create your own stickers now!! I am sure that this tutorial will be useful as it may be for me when adding motifs to my artworks!
–
DISCLAIMER : cet article est une collaboration sponsorisée. Je fais partie des artistes référents qui utilisent le matériel proposé par Le Géant des Beaux-Arts.fr et Great Art.co.uk. Vous venez de lire mon article issu de cette collaboration. Au risque de me répéter, sachez que j’apprécie les marques distribuées par ce partenaire depuis des années, et que je suis convaincue de la qualité du matériel destiné aux artistes et aux personnes créatives. Même si cela paraît logique, je précise que je suis LIBRE sur la thématique et le choix des produits mis en avant, LIBRE sur le contenu, LIBRE de donner mon VÉRITABLE avis, et c’est également pour cette raison que ce partenariat est important car je peux donner libre cours à mon imagination et ainsi proposer du contenu frais et de qualité.


